9 月 . 28, 2024 17:51 Back to list
How to Change a Water Shut-Off Valve Safely and Effectively
Replacing a Water Shut-Off Valve A Step-by-Step Guide
Water shut-off valves play a crucial role in any plumbing system. They control the flow of water to various fixtures in your home, allowing you to turn off the water supply during repairs, maintenance, or emergencies. Over time, these valves can wear out, corrode, or become damaged, necessitating their replacement. This article provides a comprehensive guide on how to replace a water shut-off valve safely and effectively.
Understanding the Function of a Shut-Off Valve
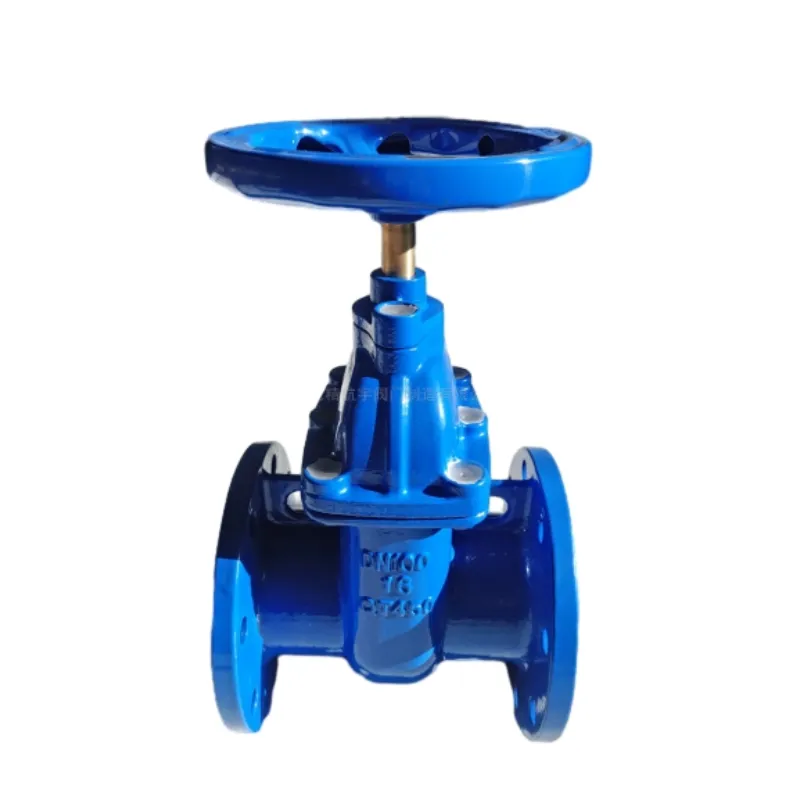
Before diving into the replacement process, it's essential to understand what a water shut-off valve does. It is typically found near plumbing fixtures such as sinks, toilets, and water heaters. When turned clockwise, the valve closes to stop the flow of water, and when turned counterclockwise, it opens to allow water to flow freely. A malfunctioning valve can lead to leaks, reduced water pressure, or even an uncontrollable water flow in the case of a pipe burst.
Tools and Materials Needed
To replace a water shut-off valve, you'll need several tools and materials
1. Replacement Valve Choose a valve that matches the existing one in size and type (compression or soldered). 2. Pipe Wrench or Adjustable Wrench For loosening and tightening the fittings. 3. Pipe Cutter If you're replacing a soldered valve, you may need to cut the pipe. 4. Soldering Kit If you're soldering new copper fittings. 5. Teflon Tape For sealing threaded connections. 6. Bucket To catch any water that may leak during the replacement. 7. Rags For cleaning up spills.
Step-by-Step Replacement Process
1. Turn Off the Main Water Supply Before starting any plumbing work, ensure the main water supply to your home is turned off. This prevents water from flowing while you’re replacing the valve.
replace water shut off valve

2. Drain the Pipes Open the lowest faucet in your house to drain any remaining water from the pipes. This step is crucial to avoid flooding during the process.
3. Locate the Shut-Off Valve Identify the valve you want to replace. This could be under a sink or near a water heater.
4. Remove the Old Valve Using a wrench, loosen the fittings attached to the old valve. If it’s a compression valve, unscrew the nuts. For soldered valves, use a pipe cutter to cut the pipe on either side of the valve. Once removed, clean the ends of the pipe with a cloth.
5. Prepare for Installation If you have a threaded valve, wrap Teflon tape around the threads of the new valve. This tape helps create a watertight seal.
6. Install the New Valve If it’s a compression valve, slide the valve onto the pipe and tighten the nuts securely but avoid overtightening. For soldered valves, fit the new valve into place and use a soldering kit to secure it. Ensure you follow safety procedures during soldering, such as using goggles and gloves.
7. Check for Leaks Turn the main water supply back on gradually. Check your newly installed valve for any leaks around the connections. If you spot any leaks, tighten the fittings slightly and check again.
8. Function Test Once you’ve ensured there are no leaks, operate the valve to ensure it opens and closes smoothly. Test the connected fixtures (like the faucet or toilet) to verify everything is working as it should.
Conclusion
Replacing a water shut-off valve is a manageable task for most homeowners with basic plumbing knowledge. It can save you from potential water damage and costly repairs. Remember always to be cautious when working with plumbing systems, and don’t hesitate to call a professional if you’re uncertain about any part of the process. Proper maintenance and timely replacement of valves will ensure your home's plumbing system operates efficiently for years to come.
-
Y Type Strainers: A Comprehensive GuideNewsOct.18,2024
-
Understanding Water Valve Options for Your NeedsNewsOct.18,2024
-
Functions and TypesNewsOct.18,2024
-
An Essential Component for Fluid SystemsNewsOct.18,2024
-
Adjustment and ReplacementNewsOct.18,2024
-
Slow Closing Check Valves: A Key Component in Fluid SystemsNewsOct.08,2024
Related PRODUCTS


