12 月 . 04, 2024 16:21 Back to list
How to Replace a Faulty Water Valve Efficiently and Safely
Replacing a Water Valve A Step-by-Step Guide
Water valves are crucial components in plumbing systems that control the flow of water in and out of various fixtures and appliances. Whether you have a leaking water valve, a faulty shut-off valve, or want to upgrade to a more efficient model, replacing a water valve is a manageable DIY project if you follow the proper steps. This article will guide you through the process of replacing a water valve safely and effectively.
Understanding the Water Valve
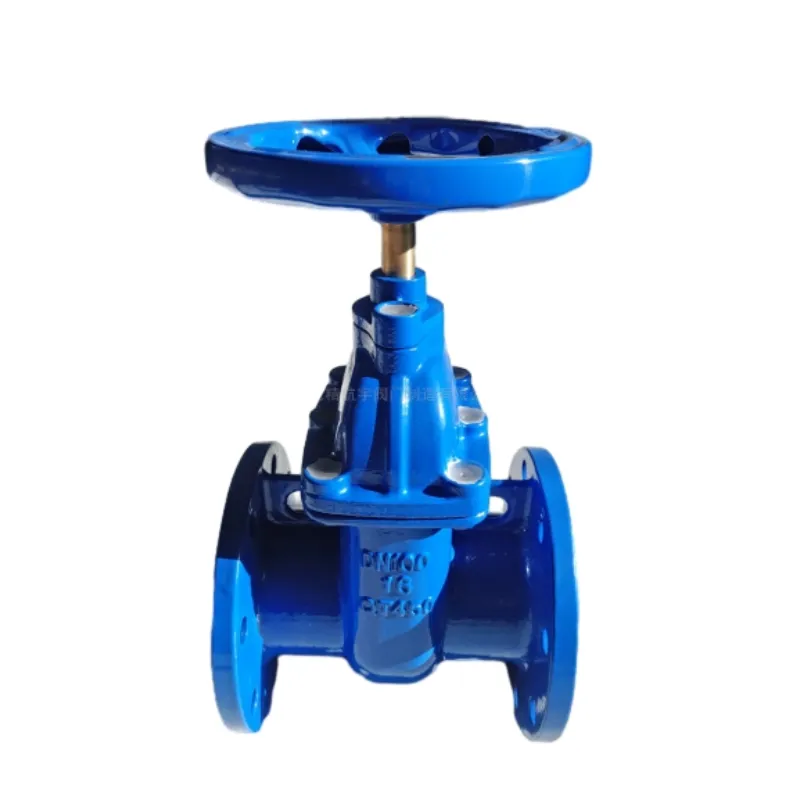
Before diving into the replacement process, it's essential to understand what a water valve is and its role in your plumbing system. Water valves can be found in numerous places, such as under sinks, behind toilets, or at the main water supply. They are designed to control the flow of water to prevent excess pressure or leaks. Common types of valves include gate valves, globe valves, and ball valves, each serving its unique purpose and functionality.
Tools and Materials Needed
Before starting the replacement, gather the necessary tools and materials - New valve (ensure it is compatible with your plumbing) - Adjustable wrench - Pipe wrench - Teflon tape or pipe joint compound - Bucket or bowl (to catch any water) - Towels or rags
Step-by-Step Replacement Process
Step 1 Shut off the Water Supply
The first step in replacing a water valve is to shut off the main water supply to prevent any spills or leaks. Locate the main shut-off valve, usually found near the water meter or where the water line enters your home, and turn it clockwise to close it.
Step 2 Prepare the Area
Next, clear the area around the valve to ensure you have enough space to work. Place a bucket or bowl under the valve to catch any residual water that may drip out during the process.
replacing water valve

Step 3 Remove the Old Valve
Using an adjustable wrench, carefully loosen the nuts securing the old valve to the pipes. If the valve is stuck, you may need to use a pipe wrench for better leverage. As you disconnect the valve, be prepared for some water to escape, which is why you placed the bucket beneath it. Once the old valve is free, remove it and clean the threads of the pipe to ensure a good seal for the new valve.
Step 4 Install the New Valve
Before installing the new valve, wrap the threads of the pipe with Teflon tape or apply pipe joint compound to ensure a watertight seal. Screw the new valve onto the pipe, ensuring that it is positioned correctly (the flow direction marked on the valve should match the flow of water). Tighten the nuts securely, but avoid over-tightening, as this can damage the valve or pipes.
Step 5 Turn the Water Supply Back On
Once the new valve is securely installed, turn the main water supply back on slowly and check for leaks around the new valve. If you notice any leaks, tighten the fittings a little more until they stop.
Step 6 Test the Valve
Finally, test the new valve by turning it on and off to ensure it is functioning correctly. Check all connected appliances and fixtures to make sure everything is in working order.
Conclusion
Replacing a water valve can be a straightforward task if you follow these steps carefully. It's crucial to always prioritize safety by shutting off the water supply and using the right tools. If at any point you feel unsure about the process, it's advisable to consult a professional plumber to avoid potential damage to your plumbing system. With a new valve installed, you can enjoy the peace of mind that comes from knowing your home’s water system is functioning efficiently and effectively.
-
Y Type Strainers: A Comprehensive GuideNewsOct.18,2024
-
Understanding Water Valve Options for Your NeedsNewsOct.18,2024
-
Functions and TypesNewsOct.18,2024
-
An Essential Component for Fluid SystemsNewsOct.18,2024
-
Adjustment and ReplacementNewsOct.18,2024
-
Slow Closing Check Valves: A Key Component in Fluid SystemsNewsOct.08,2024
Related PRODUCTS


